Part Two – The Stripdown
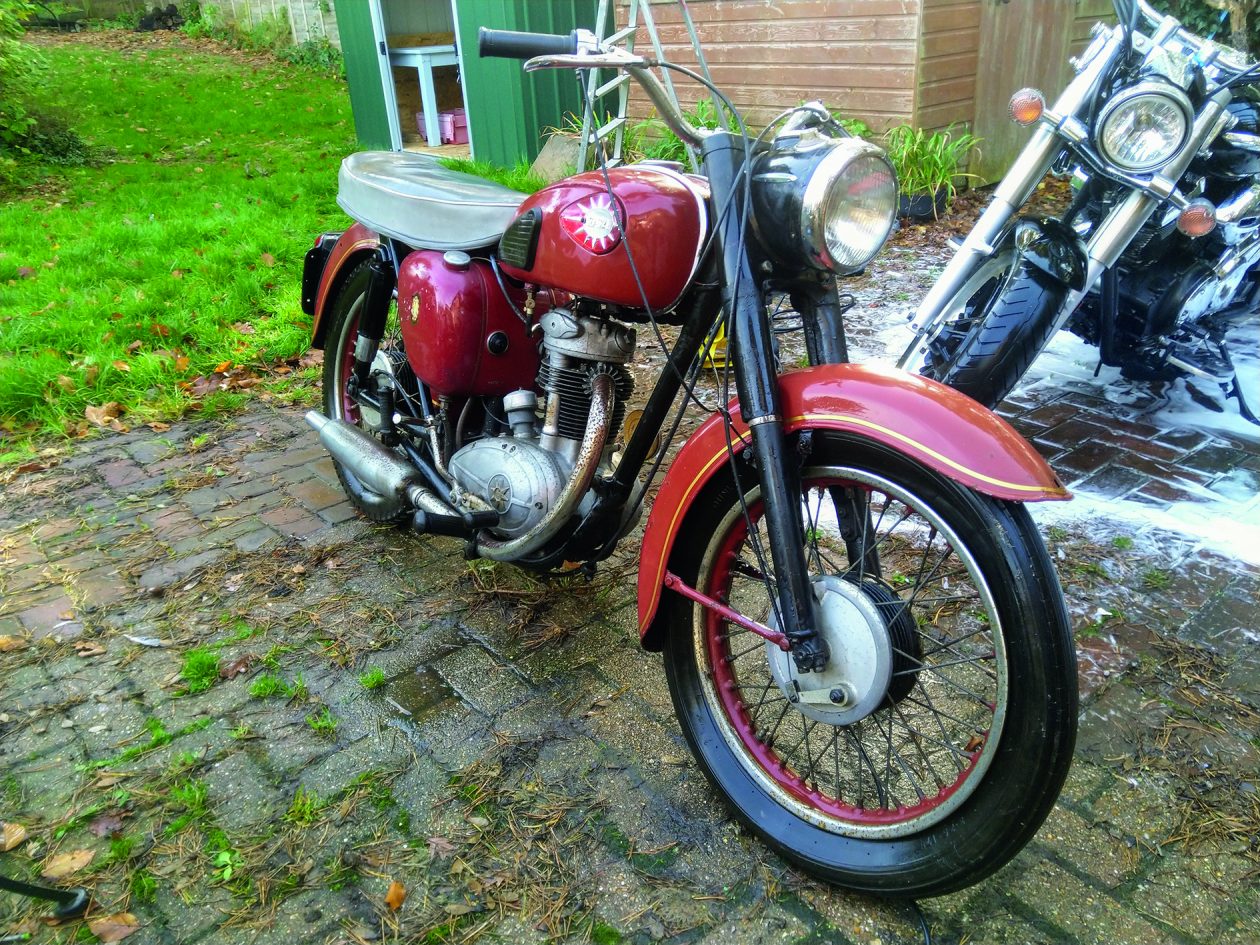
So, where did we leave it last month? Oh yes, me standing in front of two 1960s BSA C15 Stars in the back garden and thinking ‘Oh, Good God. What have I done?’ I had the outlines of a basic plan of attack in my mind. For starters I was going to do one bike at a time, the red 1961 bike being the first victim. Surely that being the older bike, it would be the simpler bike? I still don’t know on that one, I’ll let you know in a year or so after I’ve tackled both.
I had been planning in advance though, and even before the bikes arrived, I did know several things for sure – I had bought and built my Mancave, I needed to be methodical and meticulous, I needed new tools, I needed a subscription to Amazon Prime for the tool deliveries, I needed good reference and information sources, and I needed good people for good advice.
Some of these had already been put in place. Whitman tools – bought. Amazon Prime – subscribed. BSA Owners Club membership – sorted. BSA C15 Restoration Group on Facebook – joined. Space for computer and Wi-Fi in Mancave – done. Raiding of my wife’s old crafting storage for empty containers – check.
I had been recommended some BSA reference books called the ‘Rupert Ratio Unit Single Manual’, volumes 1 (the Engine) and 2 (Everything but the Engine). Unit single denoting the BSA models that had the engine and gearbox in one single ’unit’, and they were ‘single’ cylinder. The Rupert Ratio books had been recommended to the extent that buying these was a no-brainer – without exaggeration, everyone told me to get them (I have since noticed them in the background of YouTube videos about C15 restoration as well). Therefore, they were ordered, and I duly received both books, signed by the author no less! These two books (there is a 3rd volume which covers the lesser-known models) look at the BSA unit singles in great detail and make the task of working on the bikes a lot easier. Well, they actually make it possible to do anything at all for someone with my level of knowledge. What I also found out later is that ‘Rupert’ and his wife are members of the C15 Facebook group and join in many a discussion. I’ve bought a centre stand off them as my bike didn’t have one and I couldn’t source one anywhere at all. I was contacted by them to say they had one. ‘Rupert’ (a.k.a. Dave) and his wife, Lisa, are very generous with their advice and knowledge. If you do any work on a C15, you need these books.
Talking of knowledge – what on earth were all these bits and pieces that were going to come off the bike called? Easily sorted. A Google search later provided schematics for all sections of the engine and frame were printed off and laminated. These schematics are labelled with the original BSA part numbers, and I put these numbers and their relevant descriptions on the back of each sheet – very useful. Now covered in oil and grease, hence the laminating.
But how would I remember where each bit was from after it came off the bike? This is where I went a bit OCD. When I was a teenager in the 80s (you know, the last decade of decent music, and the decade responsible for my love of cruisers) my Dad got an Armstrong Siddeley Star Sapphire which he did up. He had a lot of knowledge about cars and engines, but he still took some photos to aid him when it came to reassembly. Not many though – they had to go to Boots to be printed. Other people had also said to take photos. I decided that I needed a cataloguing system. Therefore, each part that came off the bike was photographed and given its own unique code. Lots of parts were also photographed in situ to aid reassembly. This code and the part description were duly entered into a ledger (it’s going to be on a spreadsheet for the second bike). The camera’s photo file name was manually changed to the code and description (hence I can now search the photos by part name and code). Each part was then put in its own bag and the part code written on the bag. A bit of a faff, and definitely time consuming, but I know that I will be very glad of it when it comes to reassembly. I know where each part is and have a photo and description of it. So far, I have over 750 photos! Thank goodness for digital photography.
As an aside I have just realised that maybe some theme is going on here – my Dad had an Armstrong Siddeley Star Sapphire. My day-to-day bike is a Yamaha XVS950 Midnight Star. And these two bikes I have inherited off Sharon’s Dad are BSA C15 Stars!
Anyway, it had occurred to me that as I was going to be doing this properly, I needed some new toys. Shame! Out came the bank card and I hit the internet. Parts washer, ultrasonic cleaner, tap and die set, gear pullers, tyre levers, valve spring compressor, torque wrench. All needed and bought. Along with other speciality BSA tools. These were not all bought before I started. Some were ordered as I went along and realised that I needed them. That Amazon Prime next day service has really paid for itself.
I felt I was as prepared as I could be, so I set to it. On day one I just tackled easy bits of bodywork to settle in. Petrol tank, mudguards, oil tank, seat. It was an easy start and got me going.
Things got more difficult though, not only with things that I couldn’t work out how to do (that bloody engine just wouldn’t budge out of the frame), but also with the joys of BSA design – I mean, who really thought that having to take off the chain before you can take off the chainguard was a good idea?
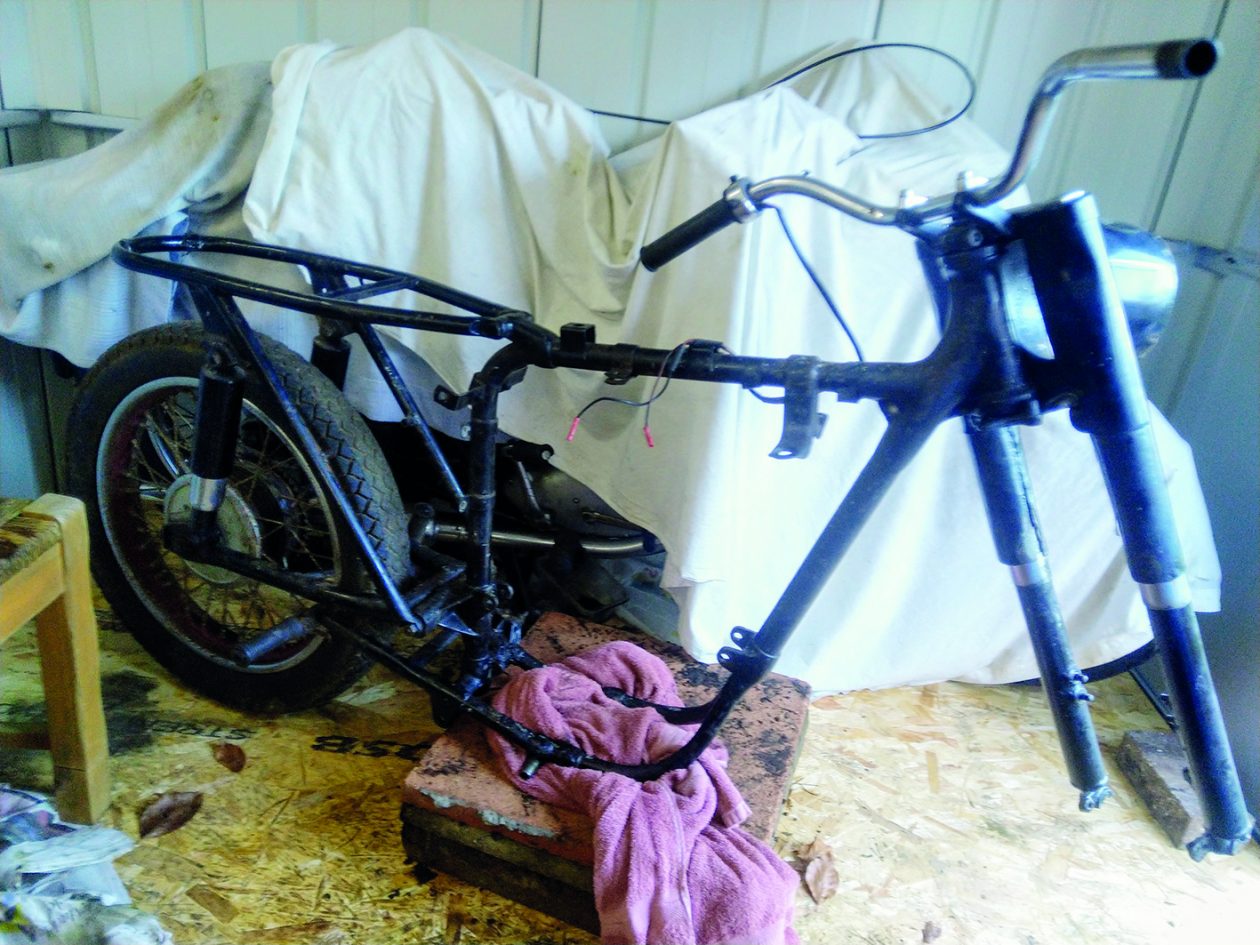
So, the frame was now stripped and ready to be painted. However, when it came to the engine that was a different matter, my DIY knowledge had a reduced impact. I’ll come to that shortly but, firstly, there were more important issues.
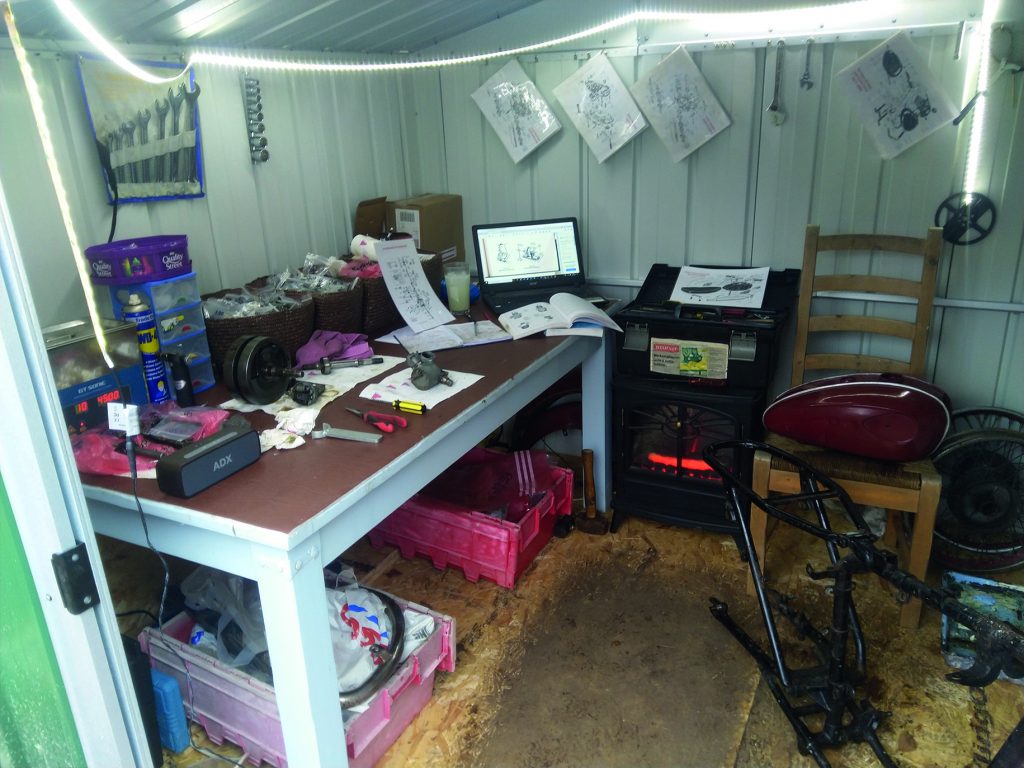
I had been working on the patio as the weather was mild, but I soon had to move into the Mancave due to the rain and then because of the cold. And it did get cold – too cold. How could I continue if I couldn’t feel my hands? I had to think outside the box. There was no way in hell I was going to be allowed to bring the bike inside and work on it there. I would have been instructed to ‘remove myself from the premises with immediate effect’!
Therefore, an intricately planned, and painstakingly executed, military style operation was carried out. In other words, whilst my wife was out, I nicked the heater from the conservatory. At the time of writing, it is 6 weeks and counting that I have got away with this. I guess this being published will tell how closely Sharon does read my ramblings! My progress may be about to slow considerably due to the injuries I’m going to sustain.
But I am, at present, able to work in a nice warm Mancave. Please also note in the photo above, on the floor next to the heater, that most vital piece of equipment when dealing with a vintage motorbike – the club hammer! And yes, the toolbox is fine on top of the heater. The heater is designed to allow things to be put on it. I can see people shaking their heads in disgust.
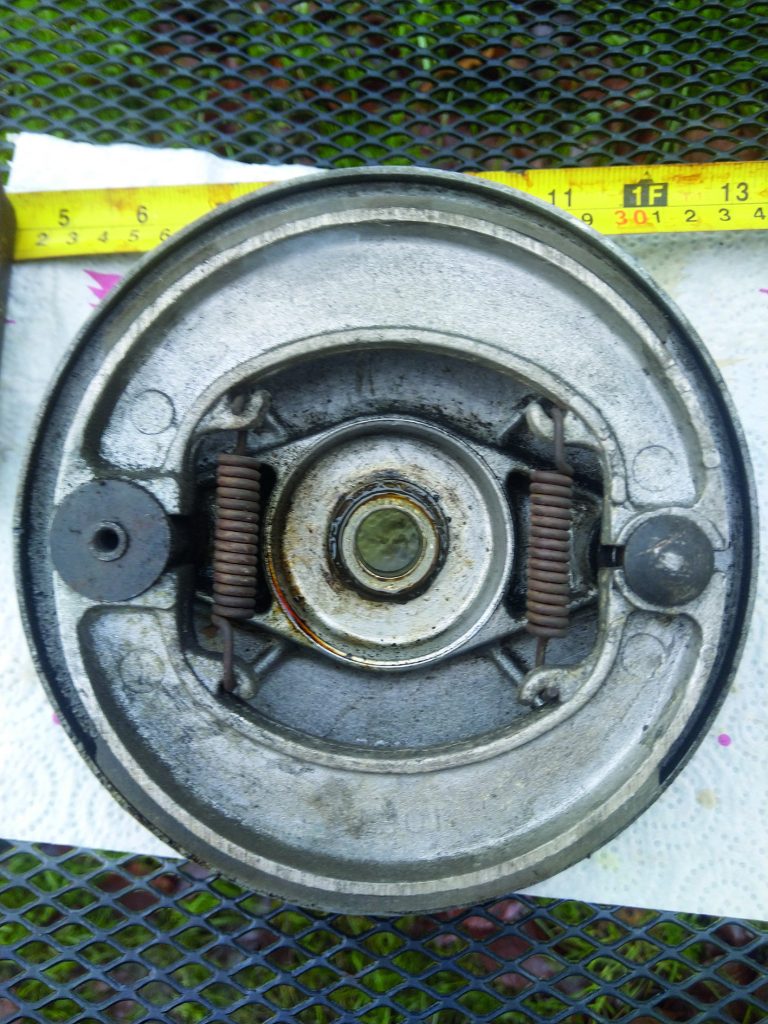
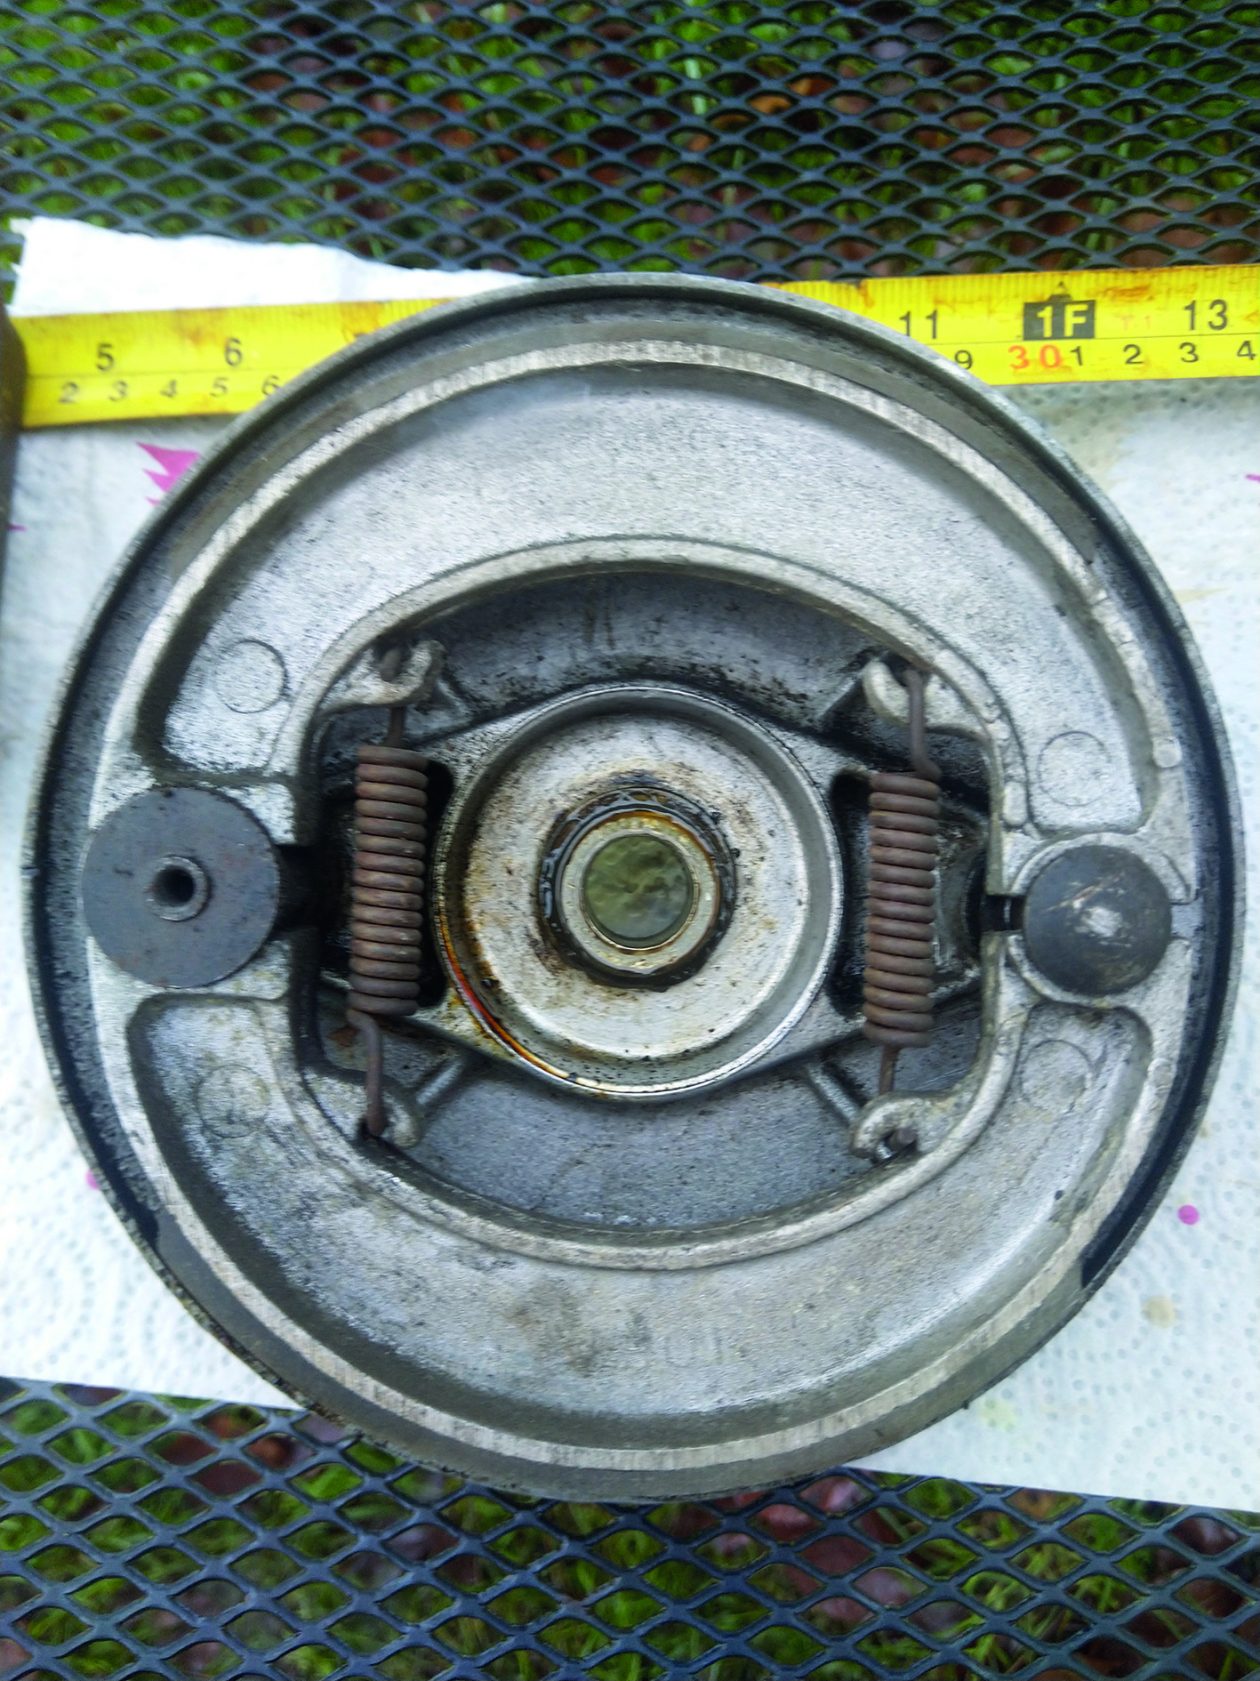
Inside Front Brake Assembly 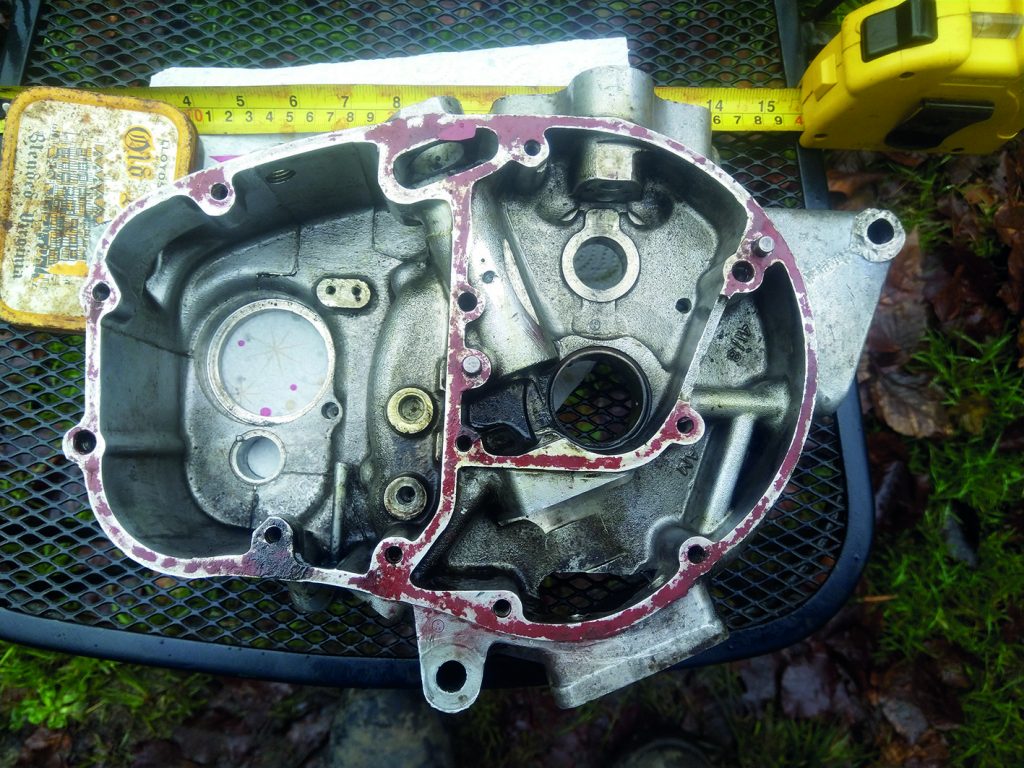
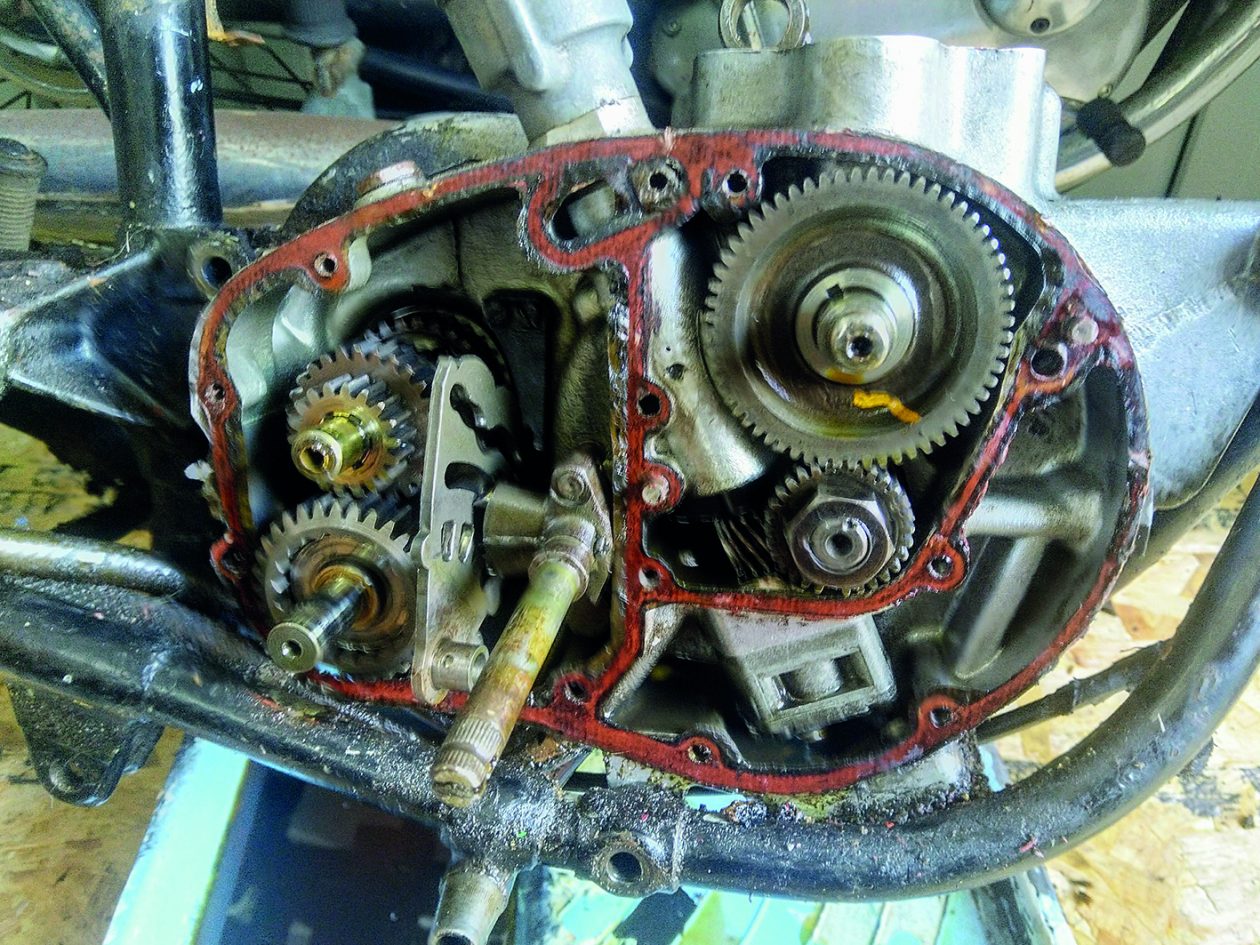
Crankcase (right hand side) 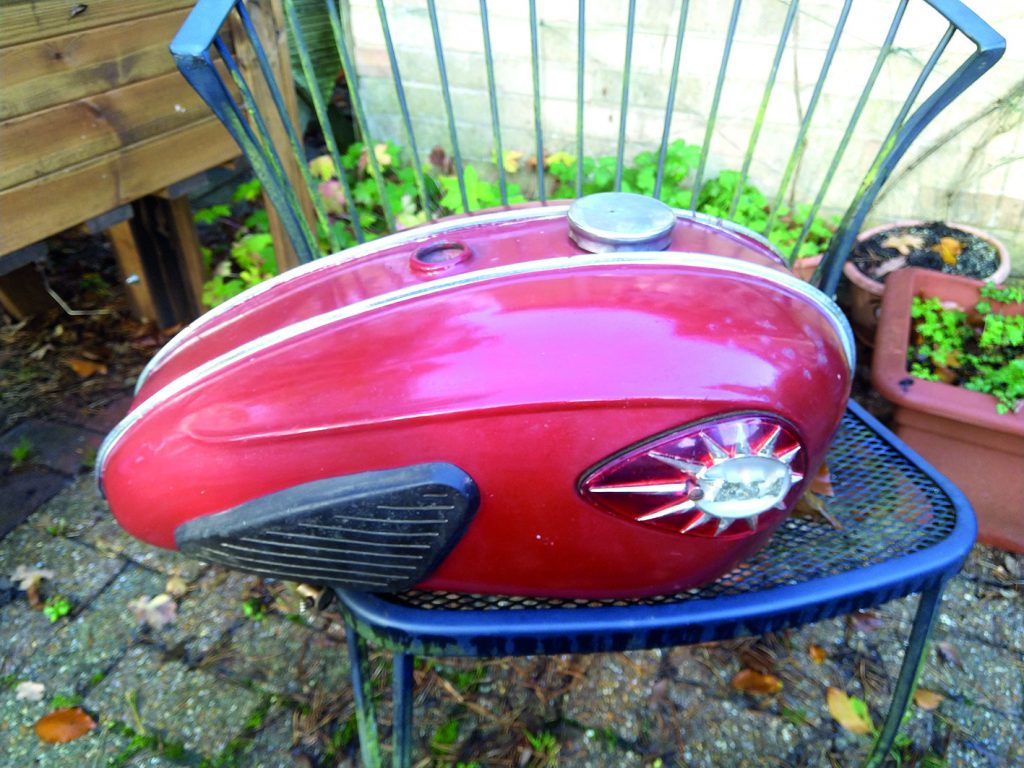
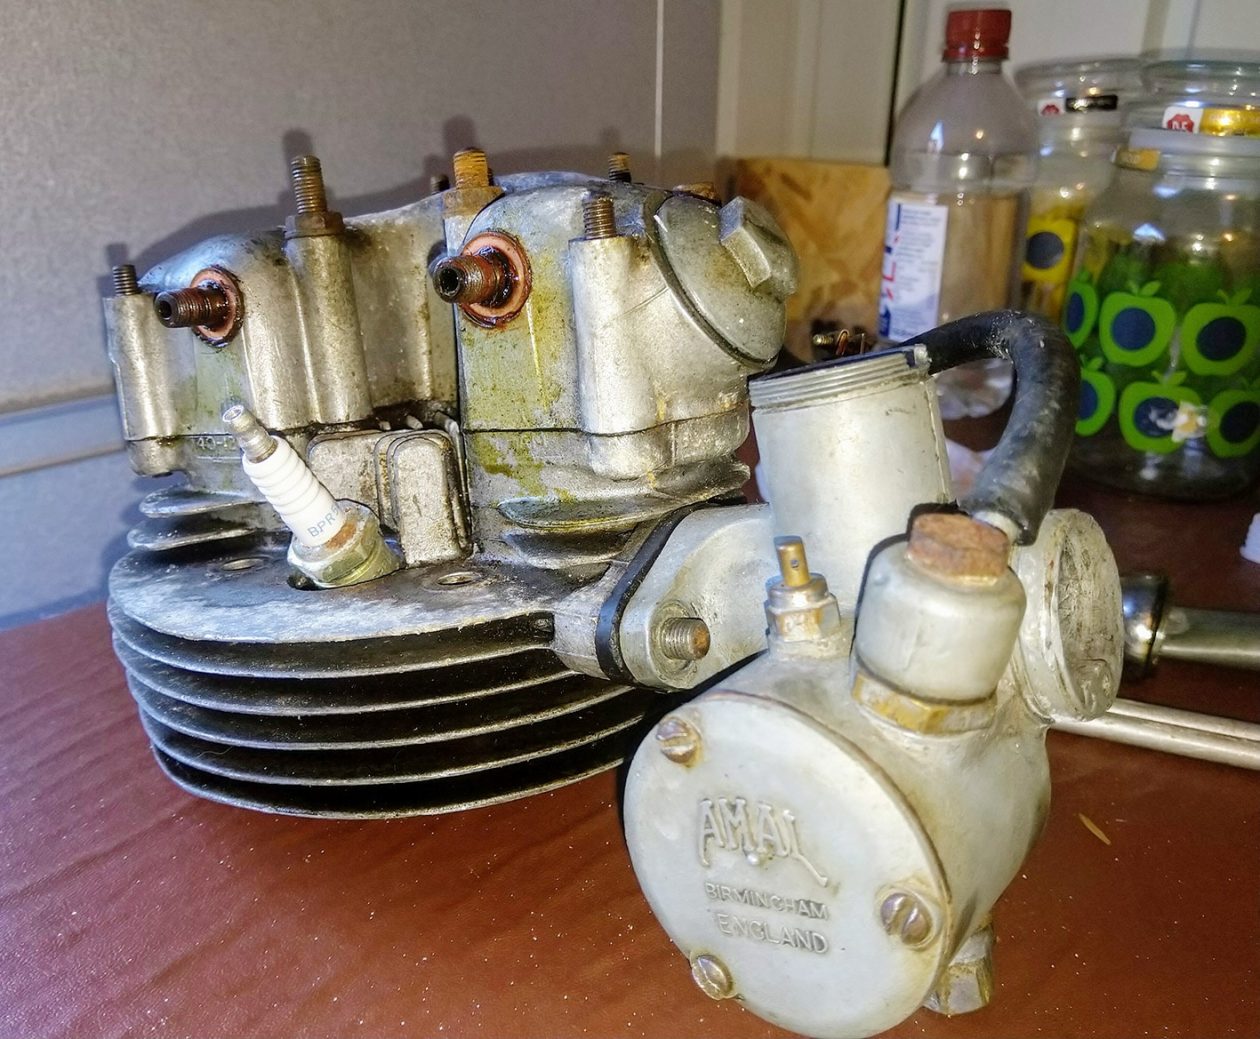
Petrol Tank Disconnected 
Part Strip


Anyway, back to the engine. In the end I was very pleased with how the engine came apart. I learned a huge amount. There was the odd time that I had to resort to the blowtorch I’d nicked from the kitchen (oh Gawd, now I’m in more trouble) and rubber mallet but in general it came apart well. Again, things were very dirty though. I am glad that I have taken it apart. There were several things in the depths of the engine that will need attending to. A previous owner had filled up an internal gap with red hematite. This hematite fell out of the gap when I reached that area of the engine. I thought that the casing was falling apart, so asked advice only to be told that the gap was meant to be there to allow oil to move around. That was a relief but made me wary that a previous owner may have had a similar level of knowledge to me and done some things wrong. Several components will need replacing. The distributor drive shaft and the distributor drive pinion both have teeth missing from them (that may sound all knowledgeable, but I had to look up their names to write this!). Coincidentally these are right next to the hole that was filled in. Other parts such as bushes, springs and bearings will need replacing as a matter of course.
Another carefully planned sneak attack also had to be enacted. When it came to removing the aforementioned bushes and bearings the advice I received was unanimous – put the casings in the oven at 150 degrees. Really? Did people actually want me to live through this? Regardless, one day, when my kind, beautiful and adorable, better half (she might get this far in the article) was out, several engine casings went into the oven. And out came the bushes and bearings exactly as they were meant to – success!! Along with copious amounts of very smelly oily smoke. My survival was in the balance here. Kitchen door shut, extractor fan on, windows open, all Gods prayed to. Fortunately, the smell was 90% gone by the time Sharon got home, but my speciality hangdog look and some shameless emotional bribery of ‘well, it was for your Dad’s bike’ had to be employed. I made it – just! Tip – make sure you have the parts thoroughly wrapped in foil when they go in the oven. It takes longer to heat them through but keeps all noxious odours out of the kitchen.
I am always aware that I still have a lot to learn. Jim Bates came over one day in between lockdowns for an outside, socially distanced check up on my progress. I proudly showed him my work. On the desk were the flywheels. ‘Those will need replacing’ says he pointing at the crank sleeves (had to look that one up too). ‘Eh? What?’ says I. And the same with some bearings. Oh bugger. A good lesson though. I really need to check these engine components properly before they go back in. Fortunately, the Rupert Ratio books, and the internet, are gold mines of information, and I know that many very helpful people are just a post away.
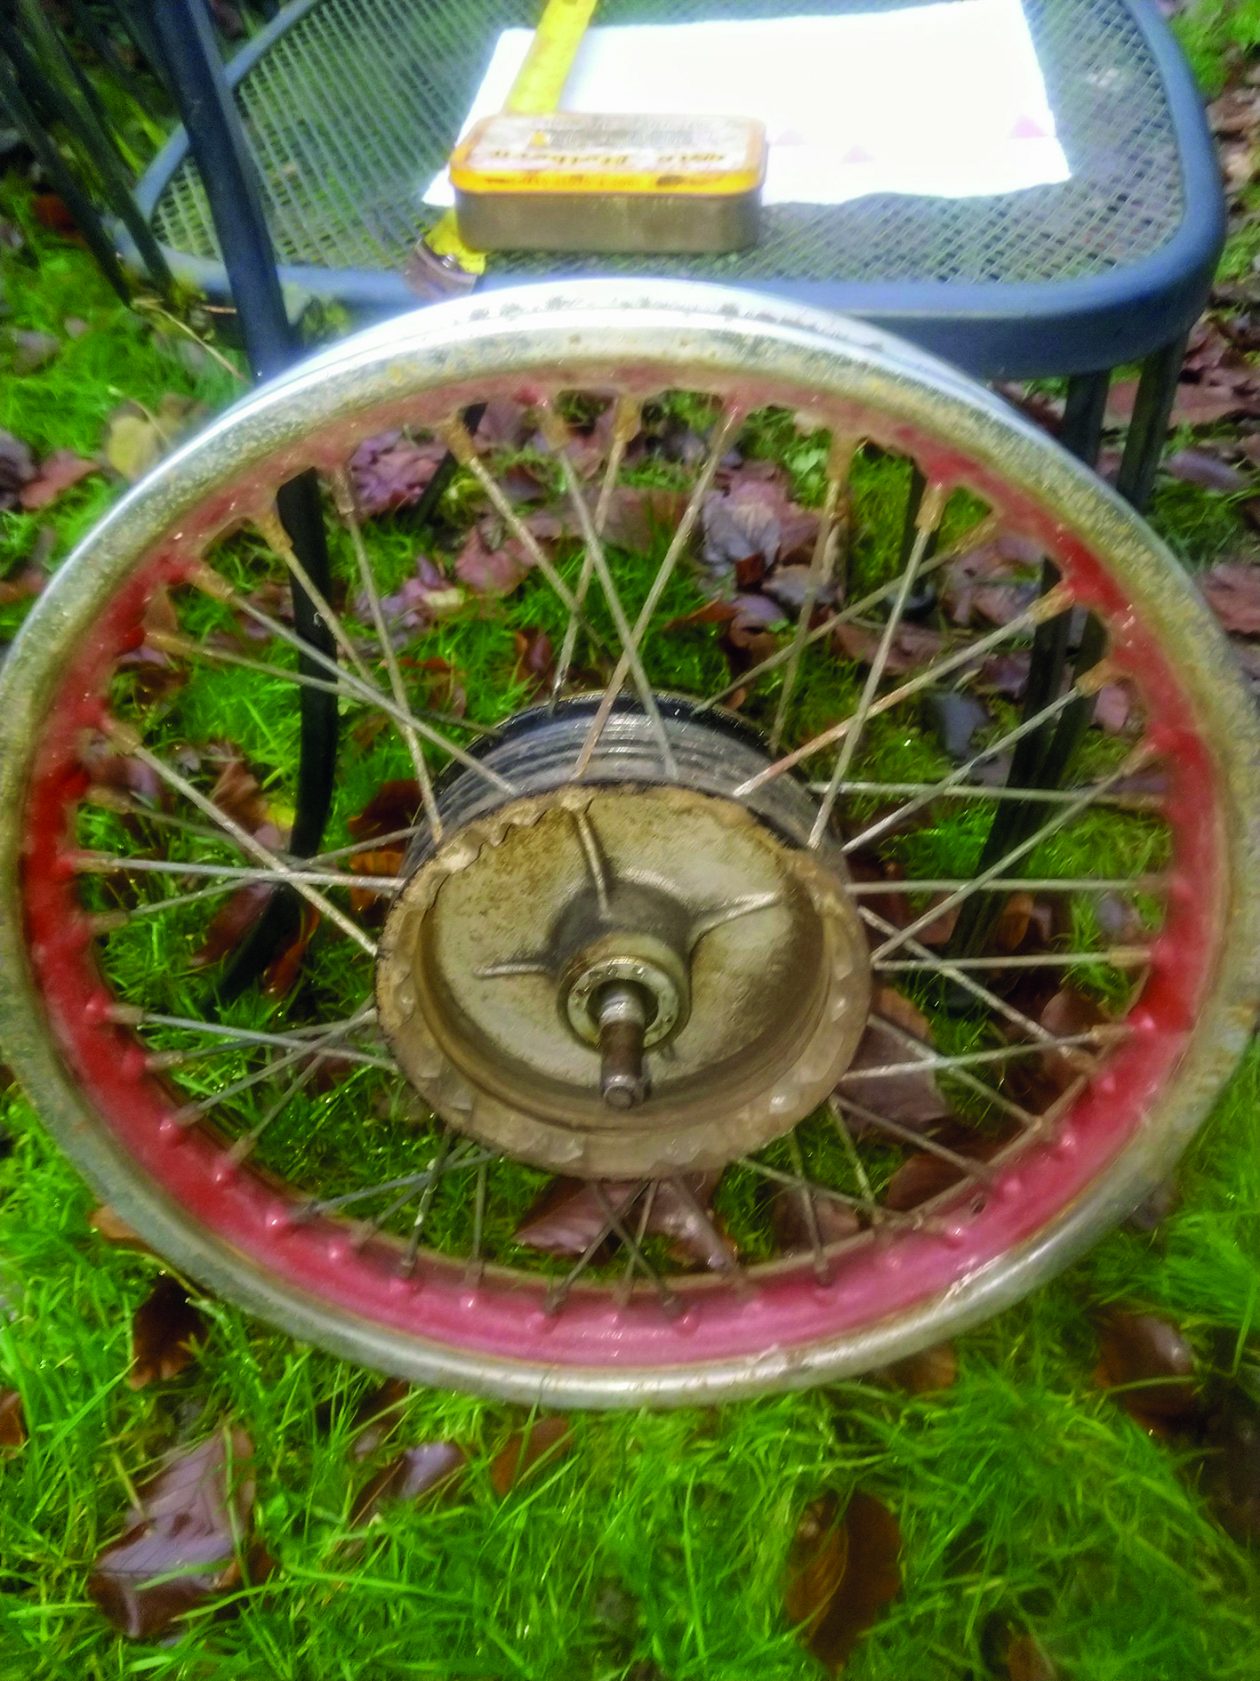
So, the bike is now all apart and it’s time to move on to Stage 2 – cleaning and restoration. Which makes it time to sign off for this month. The many bits and pieces need a really good clean, they’re filthy. The parts washer and ultrasonic cleaner are going to be well used. The frame is going away to be painted. The tinware needs to go somewhere for the paint to be restored, or redone if necessary. I don’t know which yet. The shiny bits need doing. The wheels need rebuilding (the rear potentially needing a new hub thanks to my mistake). The petrol tank and oil tanks need to have their internals checked over. So, whilst I might not be in the shed as much, I’ve still got plenty to be doing. This, I will update you on next month.
In the meantime, keep healthy and stay safe out there, both on and off road.
Jon Case
First published in Slipstream February 2021