A few weeks back, while planning my 7Ws routes and uploading to my SatNav 6, the screen went black and just wouldn’t switch on. Battery was good, external power good, it just wouldn’t turn on. Like laptops when they go wrong, you simply remove all power supplies and the battery, wait 30 seconds then restore power. The SatNav 6 has 2 screws on the rear battery compartment so I simply removed the cover, disconnected the battery, waited, then put it back; fixed.
I was about to ride the final leg of my tour of reservoirs when the damn thing went blank again. The micro crosshead screwdriver that I had packed for such an occasion came out, and I disconnected the battery then tried to plug it back in again. However, the connectors are somewhat flimsy (and that’s an understatement) and the pins got bent over. On straightening them, one broke off. Connecting the SatNav 6 to the bike was futile as they don’t work without the battery installed. Fortunately, Paul Taylor lent me his SatNav 6 and we made it back to the hotel via my planned route without a hitch.
The Fix
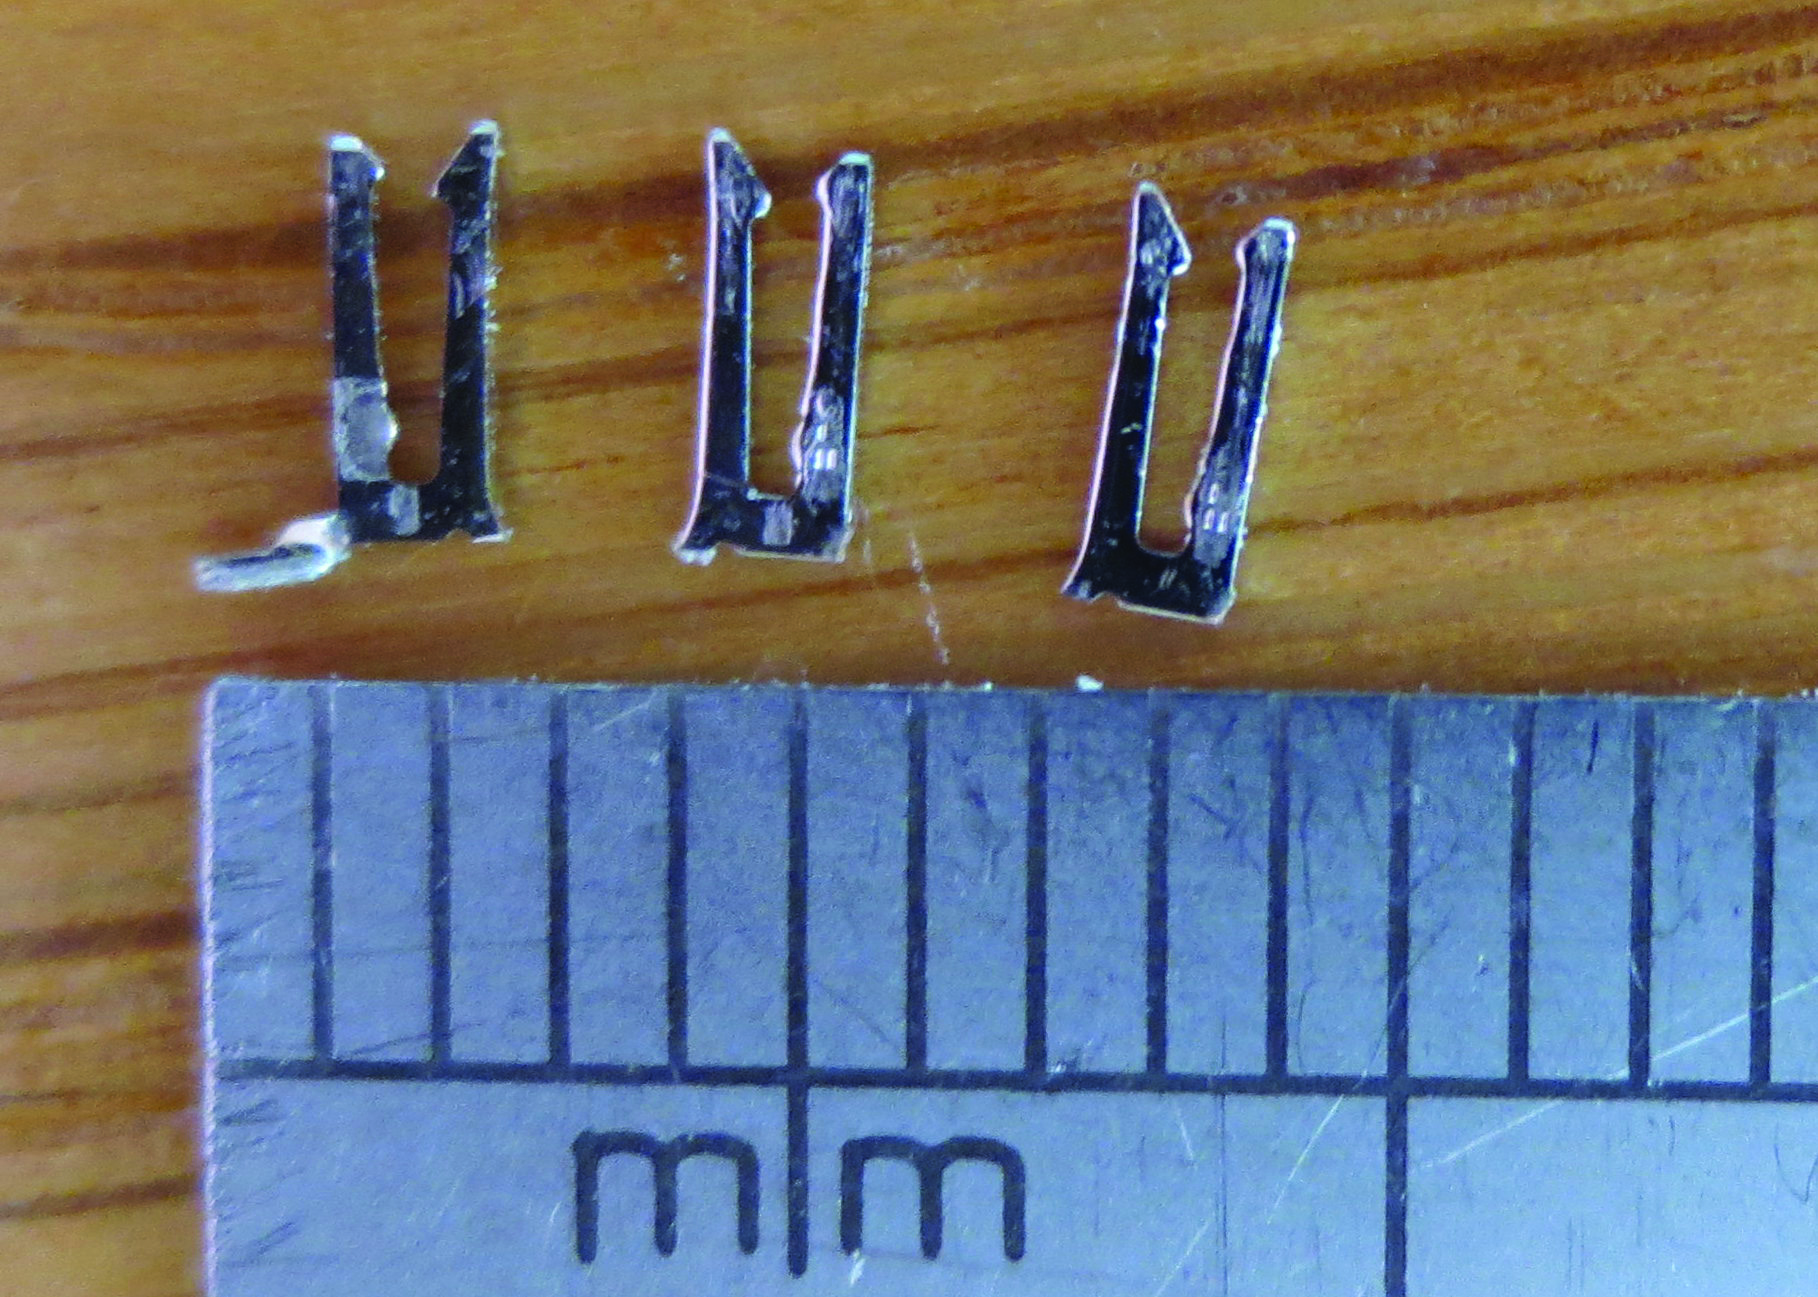
The photos below show just how small the pins are. I snapped off the remaining 3 and the pin on the left has the solder leg still attached, whereas the other 2 snapped in the same place as the one in Wales. Compared to the millimetre marks on the ruler, the actual area of metal holding the pins to the solder tag is probably less than an eighth of 1 square millimetre. No wonder they bent over and then snapped!
There wasn’t even any support along the base of the rest of the tag either. It makes me wonder if this design was to ensure they get sent back for repair.
The fix involved going on to Ebay and finding 4 pin Micro JST connectors. £1.82 got me 2 pairs, and I set about soldering the new connectors on.
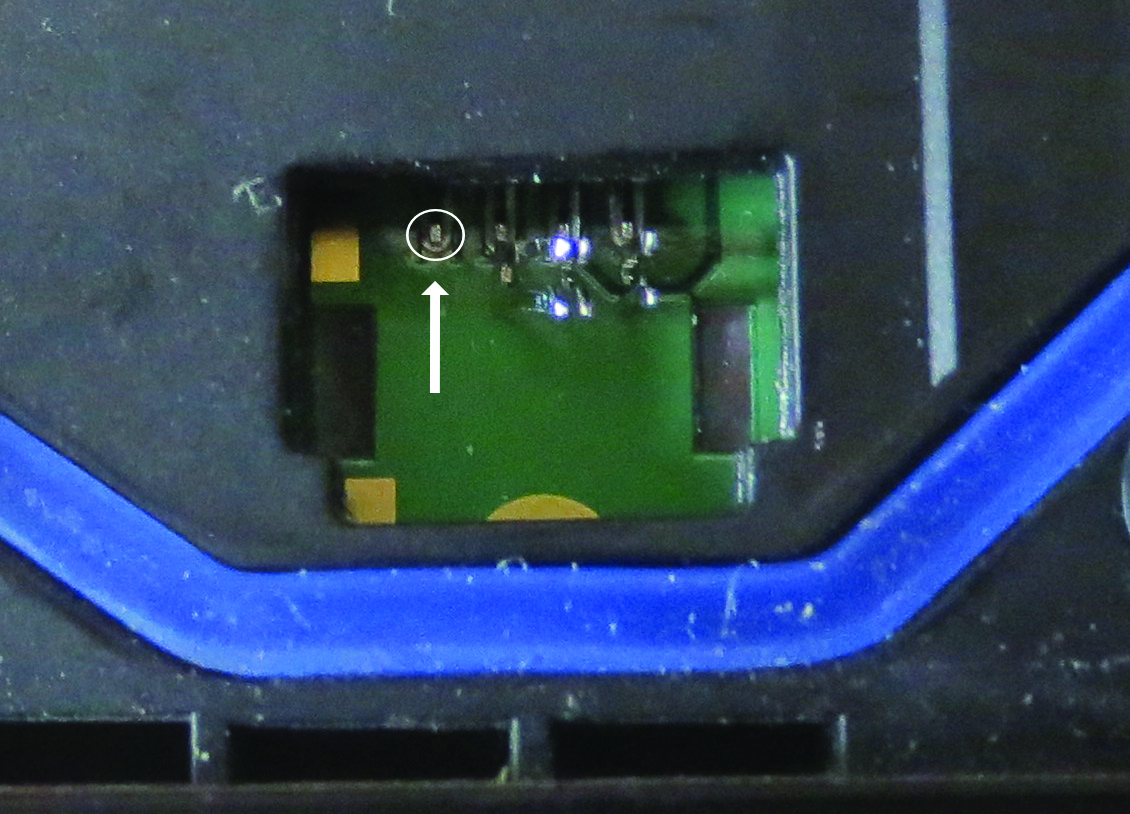
You can just make out the remains of the tag of the pin that snapped in Wales. It’s the rectangular bit inside the white circle.
The other 3 pins are still in place before I pulled them out. The new connector’s wires were soldered onto the circuit board and battery. Now, when I have to disconnect the battery due to gremlins, I can disconnect at the connector block and not have to worry about pins the size of bees’ antennae.
The actual soldering was tricky, as I had to get the tip of the iron in the hole where the original connector block resided, while holding the wire in place with needle-nose tweezers. How robust it’ll be is yet to be determined, but reinforcing the solder connections with epoxy might be needed. Only time will tell. At least the £600 poorly designed device is now working again.
Gaz
First published in Slipstream August 2019