Part Five – Two Steps Forward, One Step Back
If anyone ever tells you that restoring a classic motorbike is a rewarding experience, they are telling the truth. But what they are omitting is that it is also one of the most frustrating experiences known to humanity. Every time you make some progress, something else happens that makes you have to back track. This is even more true when you are learning as you go along because you lack certain basic skills and knowledge. I have taken to likening myself to a novice baking a cake!
However, what my cake recipe does not and simply cannot do is tell you how to perform the basic tasks. Or include a culinary dictionary. It would be 400 pages long if it did. It might say, ‘break 2 eggs into a bowl’ or ‘fold the ingredients together’. It does not tell you how to break those eggs, or how to ‘fold’. And how you break those eggs and stir the ingredients can make all the difference. The same goes for the ‘tablespoon’ amount, the quality and cocoa content of chocolate, etc, etc. The recipe must assume a basic level of knowledge, ability and quality of ingredient.
I have all the ingredients (the bike and its parts) and the recipe (Rupert Ratio and BSA Service Sheets). I really want a mouth-watering, moist, tasty cake at the end! But as well as learning how to do the complicated bits I’m having to learn how to break the eggs, sometimes by trial and error, sometimes by asking for help. I am lucky to have found the BSA C15 Facebook group, and in particular Dave and Lisa (Mr. and Mrs. Ratio) who are so utterly generous with their time and knowledge.
Completing individual tasks can also be further complicated by the issue of not knowing whether you have actually done it correctly. An experienced chef will know things are going well at all stages. Their experience and knowledge will tell them that. If it’s wrong, they can correct it then and there. The average novice (me) will not know that they have destroyed the mix and will carry on regardless, only to realise it is wrong when their cake looks and tastes like something you lost under a sofa cushion six months ago. There’s a lot of learning going on here. There are going to be teething problems at the end that need ironing out. I have no doubt that the second bike will be an easier process due to the amount I have learned from my work and mistakes on this first bike.
Anyway, the month started with a bit of a road trip. The chrome was finally ready, so I combined collecting this with a trip to Dynotech in Bramley to let Andy have a look at the front tyre I had waved the white flag at. Basically, my compressor wasn’t powerful enough! Andy removed the valve (useful tip, that) and blasted the air in a couple of times until the bead sat correctly. Sorted – cheers Andy. And a tip from a professional. Forget all the tyre soap and expensive tyre lubes – Fairy Liquid. Not supermarket own label, it has to be Fairy due to the lack of other nasty ingredients. Feeling all pleased with myself I then got home and realised I had left a couple of bits of chrome at AK Moto and had to go and collect those 2 weeks later.
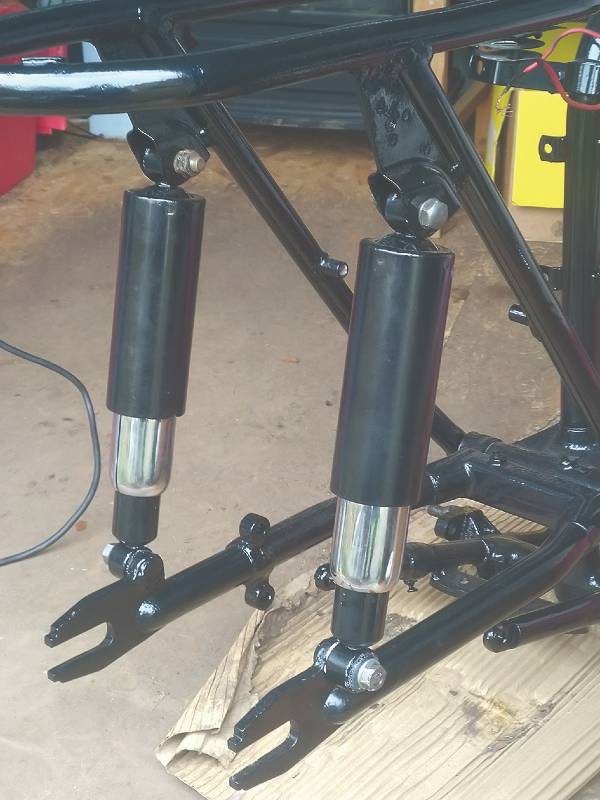
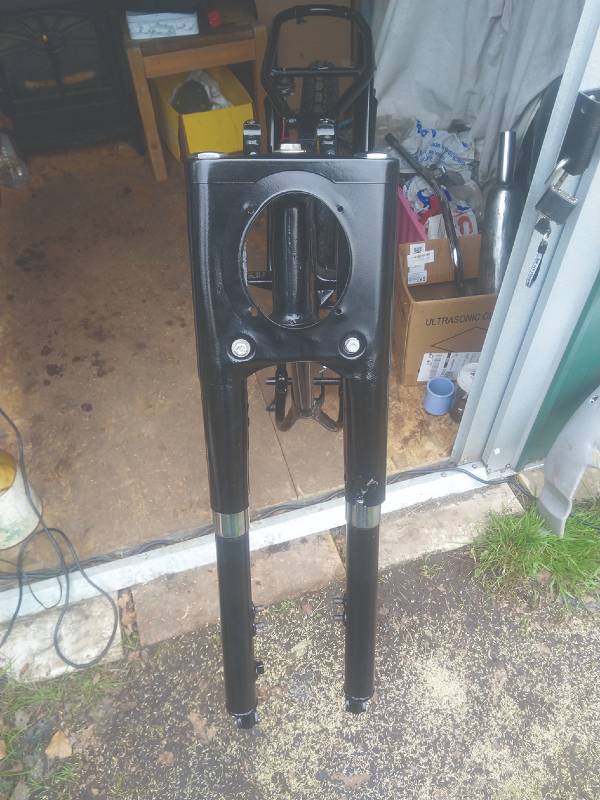
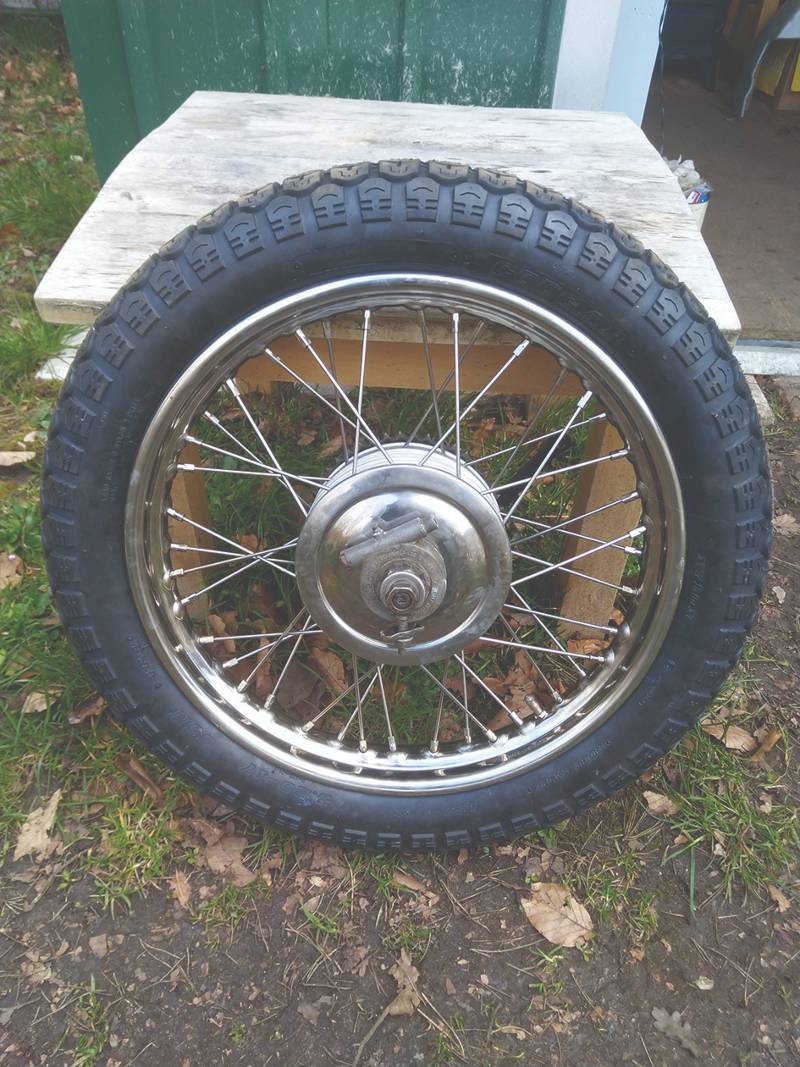
This month was to be full of things that started getting the bike back together again. Now I had the chrome I could get on with my next goal of getting a rolling chassis. I assembled the shocks and posted Steve his tool back. I started to assemble the wheels and then realised I had ordered/had been sent the wrong size hub caps – fiddlesticks! The wrong hubs were returned and the correct ones ordered. In the meantime I assembled the forks which fought me every step of the way on a very physical and frustrating day, but I got there in the end. The correct hubs arrived and the wheels were assembled. Once I got the knack of getting in the brake shoes they went together very nicely.
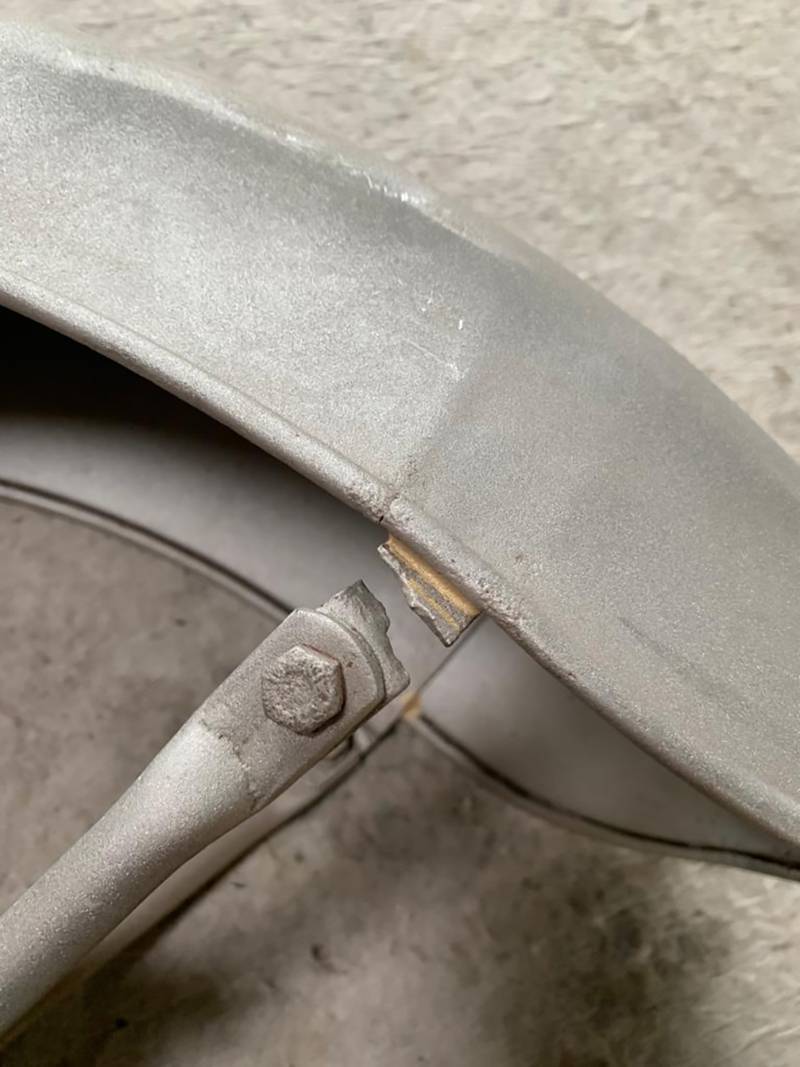
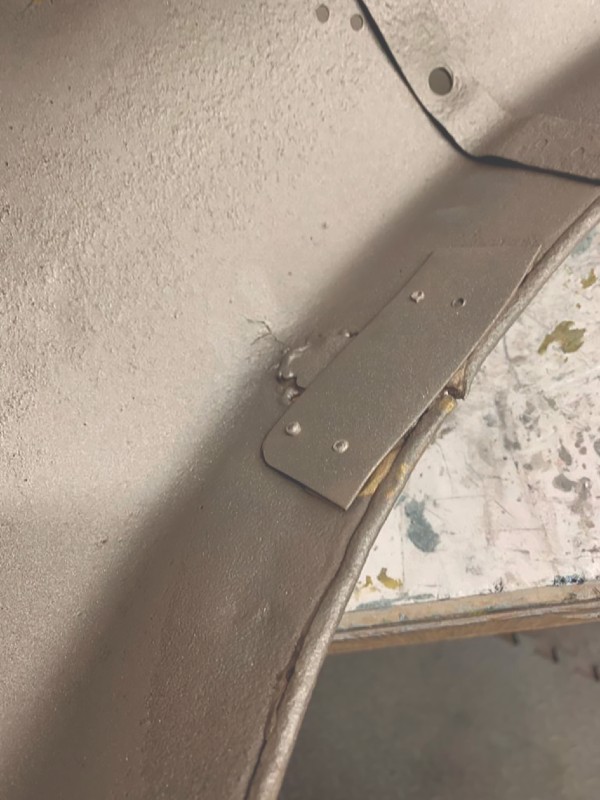
One day, when I came out of work, a voicemail saying: ‘Got the parts back from the sandblasters. Would it be possible for you to pop in?’ Eek. This was from Mike at Triple C Paint. My wallet immediately came out in a cold sweat at the thought of this. I did ‘pop in’ to see Mike and it was going to hurt my wallet. Some schools of thought say that I shouldn’t have sandblasted the tinware, but I decided to on the premise that the aggressiveness of this method would show up any inherent weaknesses in the metal and it did exactly that. The broken stay mentioned last month showed that some of the tinware was not in the best of nick. Mike and I also knew that the rear mudguard had previously been repaired, but not very well. A crack across the centre of the mudguard had been bronzed and a plate riveted in rather than it being welded and repaired properly. General age-related corrosion also resulted in several other holes. There was minor stuff on the front mudguard (apart from the stay) and a couple of other parts needed attention. Fortunately, and most importantly for my wallet the oil tank and petrol tank were fine. The rear mudguard was not usable in its present state and would need to be repaired. The front mudguard stay would have to be repaired before it could be used as well. And I figured that I might as well get the other minor bits done also. Looking at a specialist business these repairs were heading on for £450. Ouch – not in the budget! I tried to source another rear mudguard instead, but these seem to be as rare as the proverbial rocking-horse droppings. I could not find an original one anywhere, even in America or India. So I’ve gone with my usual method and taken them to a local guy down the road – AIM Sheet Metal. Apart from supporting small local businesses, I find it is cheaper than a big company and the quality of the work often better. I prefer to send business the way of people whose work is their calling card. I’m looking forward to collecting these parts and getting them back to Mike.
So I was now able to crack on with getting a rolling chassis. Shocks, forks, wheels were all put on the frame. With wheels being on, I needed the bike to be able to stand up on its own, so the centre and side stands were added as well. My next goal of a rolling chassis had been achieved.
I could now get the engine back in the frame. This was an ideal stage to do this as the engine wasn’t too heavy or awkward, and once in the frame it would still allow me access to start work on the drive side and the top of the engine. However, I was reluctant and kept putting it off. This was because my gut was still telling me the gearbox wasn’t right. It was all assembled and sealed up, but I just felt that it wasn’t right. It felt rough and only 2 of the gears seemed to be engaging properly each and every time I tried. To be honest, I was avoiding dealing with this like the plague as I didn’t have a clue how to remedy it. I kept pushing it to the side and doing something else.
So, I ended up assembling other bits and bobs on the frame all the while putting off the inevitable. The handlebars went on, headlight shroud, battery box, foot pegs, rear brake pedal and brake mechanism were assembled (bit of a faff there – the placing of things needed tweaking as the nearside pillion footrest rubbed against the rear brake rod). I even ended up electrical testing and fitting the horn, rectifier and ignition coil as well. All to avoid dealing with the gearbox. Parts were ordered and received also. I received the decals and delivered them on to Mike. There is one decal I need to do myself as well. I’ve got the dreaded wiring loom. That alone will be an ‘adventure’. But that’s a little bit down the line. But the gears are still not sorted. I must get them done otherwise I am going to grind to a halt, both figuratively and literally!
Finally, there was a first that made me feel all pleased with myself. One day whilst flicking through the BSA C15 Facebook group someone asked a question about the number and orientation of the fork seals and the fork seal holders themselves. I knew the answer to that. I looked like a teenager using both hands speed typing on a phone for once, rather than a middle-aged bloke squinting at the screen and hitting it repeatedly with one finger. Boy, answering that question made me feel good. And then I hit the books and checked my messages from Mr and Mrs R to check that I had actually given the correct answer. Honestly, I hadn’t asked the same question myself 2 weeks earlier. I did sound all knowledgeable though, even if I say so myself. There was a definite strut to my step as I went to tell Sharon about this personal achievement!


Jon Case
First published in Slipstream May 2021